Blog
Create a Personalized Sibling Book Kids Love
Learn how to make a personalized sibling book that strengthens bonds and creates lasting memories. Get practical tips on storytelling, design, and photos.

A personalized sibling book is so much more than a cute story. It's a way to capture the messy, wonderful, and totally unique bond between your kids and turn it into something they can hold in their hands.
It validates their shared inside jokes, their secret handshakes, and their role in the family, making them the heroes of a story that's completely theirs.
Why This Book Will Be Your Family's Favorite
When you create a personalized sibling book, you’re doing more than just making a fun bedtime story. You're crafting a family heirloom, a little piece of magic that strengthens their connection and can even help everyone navigate big life changes.
This isn't about dropping their names into a generic template. It's about building a narrative that feels like your family—quirky, loving, and real. The best part is watching it become the go-to book for comfort, giggles, and settling sibling squabbles.
Building Stronger Sibling Bonds
Let's be real: sibling rivalry happens. A custom book that celebrates their relationship gives them a shared story to rally around. It’s a tangible reminder of their connection, their teamwork, and all the reasons they’re on the same team.
Seeing their own adventures in print validates their bond as something special. A story about how big sister teaches little brother to build with blocks or share a favorite snack reinforces that positive connection and gives the older sibling a huge sense of pride. You can find more ideas for these connections in our guide on personalized books for siblings.
When they star in their own story, siblings see their relationship as a central, celebrated part of their lives. It becomes a touchstone for remembering why they’re a team, even when they’re arguing over the last cookie.
Easing the Transition to a New Baby
For a toddler, the arrival of a new baby is world-rocking. A personalized sibling book is one of the kindest, most effective ways to prepare them for the change. The story can gently introduce the idea of a new family member in a positive, exciting way.
It can frame the older child as a proud, helpful big brother or sister, giving them an important new role to look forward to. This kind of storytelling helps manage their expectations and shows them that this change is about adding more love to the family, not taking any away.
It's a powerful tool, and more and more parents are discovering it. The global market for personalized children's storybooks is projected to hit $2.76 billion as families recognize their incredible value in emotional development. You can discover more insights on the personalized book market to see just how much this idea has grown.
Finding Your Story and Choosing Photos
Every great personalized book starts with one simple question: what story do you want to tell? This is the heart of your project, the foundation for every page you’ll build. Before you even think about photos, take a moment and consider the purpose behind your book.
Is it a heartwarming "welcome home" story for a new baby? A thrilling adventure where the siblings are superheroes on a mission? Or a simple, sweet recap of their first year together, filled with milestones and quiet moments? The narrative angle you pick will guide every decision that follows.
This little map can help visualize the benefits these books offer and might just spark an idea for your own story's direction.
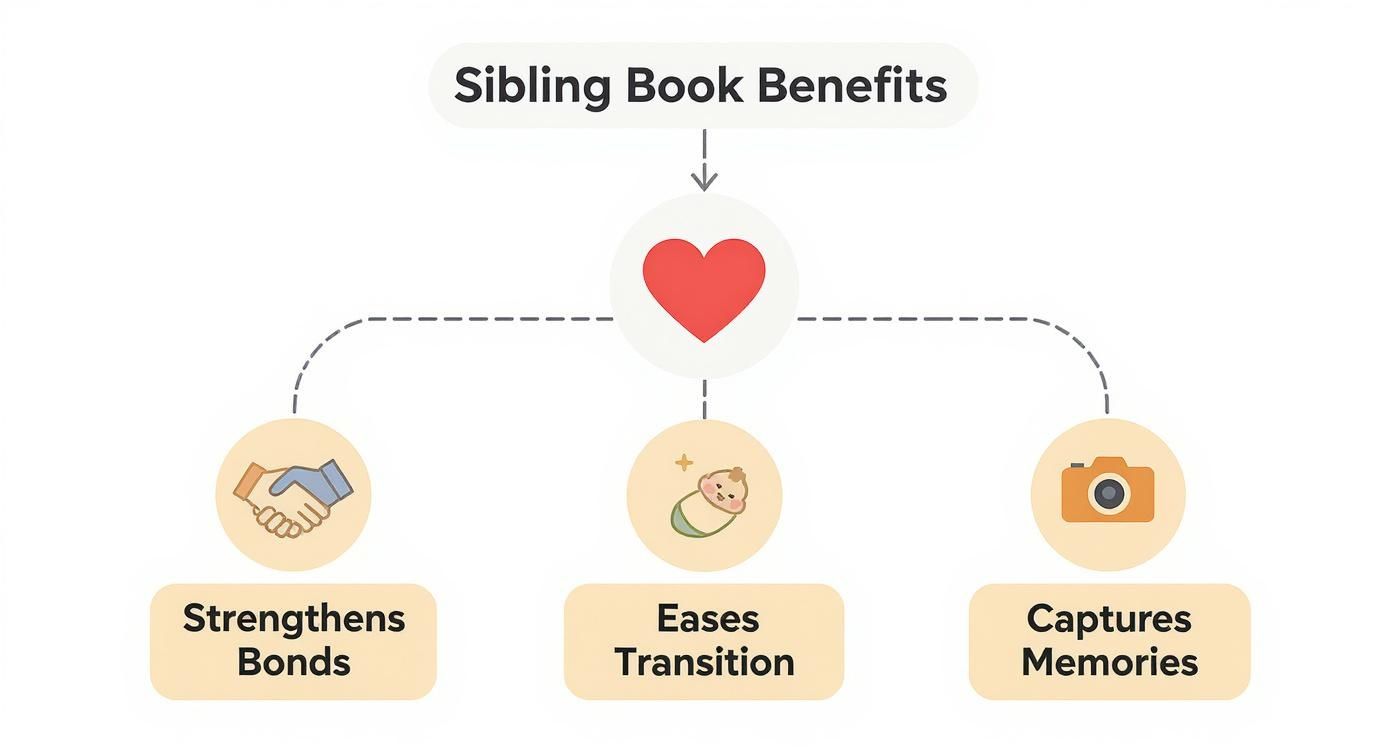
As you can see, each theme ties back to strengthening bonds, easing transitions, or capturing precious memories—the core reasons these books feel so powerful and become instant family treasures.
Brainstorming Your Narrative Angle
Think about your children's current dynamic and what message would resonate most with them right now. A "New Baby" theme is perfect for preparing a toddler, while a "Shared Adventure" story can reinforce teamwork for older siblings who might be bickering. A "Year in Review" is a wonderful way to create a time capsule they can look back on for years.
To help you decide, here’s a quick look at some popular storytelling approaches.
Choosing Your Sibling Book's Narrative Angle
This table compares a few storytelling approaches to help you find the best fit for your book's purpose and your children's ages.
Story Angle | Best For | Photo Style | Example Concept |
|---|---|---|---|
The New Arrival | Preparing a toddler (2-4) for a new baby. | Candid shots of pregnancy, the older sibling with the newborn, first meetings. | "You're Going to Be a Big Sister!" A story about all the fun things she'll teach the baby. |
A Year Together | Celebrating the first year of a younger sibling's life. | A chronological mix of milestones and everyday moments. | "Our First Year as Brothers," showing them grow from month to month. |
The Adventure Book | Siblings aged 4-7 who love imaginative play. | Action shots, funny faces, photos from vacations or park trips. | "The Super Siblings Save the Park!" turning a playground visit into an epic tale. |
Book of "Firsts" | Capturing key milestones for multiple children. | Photos of first steps, first holidays, first haircuts, etc. | "Our Book of Big Moments," dedicating a page to each sibling's major achievements. |
Don't feel pressured to invent a complex fantasy world. Sometimes the most compelling stories come from the simplest ideas. A story about learning to share a favorite toy can be just as magical to a child.
Curating Photos That Tell the Story
With a theme in mind, photo selection becomes a focused mission. You’re no longer just picking cute pictures; you’re choosing the illustrations for your narrative. Your photos should drive the story forward, with each image logically connecting to the next.
Aim for a variety of shots to keep the book visually interesting and full of life:
Action Shots: Kids laughing, playing, or running around. These bring so much energy to the page.
Quiet Moments: A photo of them cuddling on the sofa or reading a book together. These add emotional depth.
Milestones: The new baby coming home from the hospital or the older sibling's first day of school.
Silly Faces: Those candid, goofy pictures that really capture their unique personalities.
My best advice? Gather more photos than you think you’ll need in a dedicated folder on your computer or phone. Having 25-30 high-quality options for a standard 20-page book gives you plenty of flexibility. As you organize them, you’ll see a natural story arc begin to emerge, making the writing process feel much less intimidating.
Writing a Story That Connects with Kids
Okay, you’ve got your photos and a theme. Now for the really fun part: writing the story. This is where a collection of pictures transforms into a book your kids will beg you to read over and over. Don't worry about writing the next great American novel—the goal here is to capture the real, quirky, wonderful voice of your own family.
Just use simple, direct language that sounds like you talking to them. Think about their age. For toddlers, short, bouncy sentences or even a silly rhyme can be magical. If they're a little older, you can add more detail and description to keep up with their curious minds.
Infusing Personality into Every Page
The real secret to a story that hits home is in the little things. It’s about more than just using their names. This is your chance to weave in all the tiny, specific details that make up their world.
Mention the scruffy stuffed bunny that can’t be washed, their silly nickname for Grandpa, or that one inside joke about the time spaghetti ended up on the ceiling. These are the details that make a book feel like it was truly made just for them—because it was. When a child sees their unique world reflected back at them, it creates an instant, powerful connection that a generic story just can't touch.
Don't just tell a story about two siblings; tell the story of your siblings. Mentioning the "super-duper fast red tricycle" or their special "fort-building blanket" makes the narrative deeply and uniquely theirs.
This kind of personal touch is exactly why these books are so loved. In fact, the global market for personalized kids' storybooks is projected to hit $2.94 billion by 2033. It's all because parents see how these custom details spark a genuine love for reading. You can read the full research on the personalized book market to see just how much this idea is taking off.
Structuring Your Narrative
You don’t need a complicated plot. A simple structure is often the most effective. A "day in the life" format or a chronological recap of a family trip gives the story a natural, easy-to-follow flow that kids can track.
Stuck on where to start? Try one of these sentence starters to get the words flowing:
"Once upon a time, in a cozy house right on our street, lived a super sister named Maya and her little brother, Leo."
"Liam loved his baby sister, Chloe, more than anything. He couldn't wait to teach her all his favorite things, like..."
"Do you remember that sunny day we all went to the park? First, we packed our favorite snacks..."
Keep your paragraphs short and sweet—one or two simple sentences for each photo is perfect. This keeps the pace just right for little listeners and lets your amazing pictures do a lot of the heavy lifting. The end result will be a beautiful story that sounds just like you, speaking right from the heart.
Designing a Beautiful and Durable Book
Alright, your story is written, and you’ve picked out the perfect photos. Now for the fun part: bringing it all together into a beautiful book that can survive countless bedtime readings and enthusiastic little page-turners.
This is where your creation goes from a collection of memories to a real, professional-looking keepsake. The design choices you make here will shape the final look, feel, and—importantly—the durability of your sibling book.
Whether you’re using a simple online tool or going the full DIY route, the goal is the same. You want pages that are clean, engaging, and easy for a child to follow, letting your story and photos be the real stars.
Creating Visually Engaging Page Layouts
How you arrange your photos and text on each page guides the whole storytelling experience. My biggest piece of advice? Don’t try to cram too much in. Give every photo and sentence a little room to breathe. That “white space” is your best friend—it makes the pages feel calm and inviting for young readers.
Here are a few layout ideas I’ve found work really well:
Full-Bleed Photo Spreads: Pick one incredible, high-quality photo and let it fill a whole two-page spread. This works wonders for those breathtaking vacation shots or a candid close-up that just radiates sibling love. It’s pure impact.
Photo and Text Pairing: This is a classic for a reason. Put a big, beautiful photo on one page and the story text on the opposite page. It’s clean, simple, and keeps the focus right where it belongs: on the narrative.
Collage-Style Pages: Want to show a sequence, like the kids building a sandcastle from start to finish? Group three to four smaller photos on a single page. Just make sure the layout stays organized and doesn't feel cluttered.
Selecting Fonts and Design Elements
The font you pick really sets the mood. I always recommend something playful but super readable. A rounded, sans-serif font is a fantastic choice for kids’ books because the letters are clear and easy for early readers to recognize. Steer clear of fancy script or decorative fonts that little eyes might struggle with.
Little illustrations, borders, or graphics can add so much personality. Most book-making platforms have libraries of kid-friendly doodles like stars, hearts, or cute animals. The key is to use them as accents, not distractions. A simple colored border or a tiny drawing in the corner can tie a whole page together beautifully.
Here's a pro tip: create a consistent color palette. Choose two or three main colors from your favorite photos and sprinkle them throughout the book in your text, backgrounds, or little design elements. It instantly makes the whole thing feel cohesive and polished.
Choosing the Right Physical Book Type
Okay, let's talk about the book itself. The materials you choose will determine if it survives its first year or becomes a treasured heirloom.
Hardcover vs. Softcover For a keepsake book like this, a hardcover is almost always worth it. The sturdy cover protects the pages and gives the book a substantial, timeless feel. It’s built to last. Softcover books are lighter and more budget-friendly, but they’re also way more likely to get bent or torn by excited hands.
Page Finish You'll usually get a choice between glossy and matte pages. Glossy pages make photos look incredibly vibrant and rich. The downside? They’re magnets for fingerprints. Matte pages, on the other hand, have a soft, non-reflective finish that hides smudges and gives the book a lovely, modern, artistic feel.
By thinking through these details, you're not just making a book; you're creating a durable piece of your family's history. For more practical tips, check out our guide on how to create your own book for kids, which dives even deeper into the creation process.
The Final Polish Before You Print
You've poured so much love into this project—choosing the perfect photos, writing the story, and tweaking every page. Before you hit that final "print" button, it’s time for one last, crucial step: a thorough review. This is what takes your project from a sweet idea to a professional-quality keepsake.
Think of it as the final quality check. It's your chance to catch those tiny mistakes that are so easy to miss when you're deep in the creative zone, ensuring your personalized sibling book is perfect from cover to cover.
Proofreading for Perfection
Start by reading every single word. It’s amazing how a tiny typo, especially in a name or a special place, can pull a reader right out of the moment. Double-check all the important details: dates, nicknames, and inside jokes.
Here’s a trick I swear by: read the entire story out loud. It forces you to slow down and helps you catch awkward phrasing or rhymes that don't quite land. You’ll actually hear the rhythm of the words, making sure it flows beautifully when you read it to your kids.
My best advice is to get a second pair of eyes on it. After staring at the pages for hours, you become blind to your own mistakes. Ask your partner or a trusted friend to give it one last read-through—they’ll spot things you completely missed.
Checking the Technical Details
Beyond the text, you need to make sure the technical elements are ready for print. Take a close look at every single photo and layout.
Image Resolution: Do any photos look blurry or pixelated on your screen? If they do, they’ll look even worse in print. It's worth the effort to swap any low-quality images for sharper, higher-resolution versions.
Photo Cropping: Look at how each photo is cropped. Is someone’s head or an important detail accidentally getting cut off by the page edge or the binding area in the middle?
Text Placement: Make sure no text is sitting too close to the edge of the page. Most printing services have a "safe zone" guide—check that all your words and important illustrations are well within those lines.
Protecting Your Family's Privacy
Lastly, take a moment to review the book from a privacy perspective. Personalization is what makes these books so magical, but it’s always wise to be mindful of how much specific information you include. Sharing a family story is a wonderful thing, and the demand for these keepsakes is soaring—the global market for personalized children’s books is expected to reach over $1 billion by 2031.
Consider omitting sensitive details like your full home address, school names, or other highly personal data. The story will feel just as special with more general references. This final check ensures your book is a safe, cherished, and polished gift that your family will treasure.
If you’re looking for more inspiration on the gifting side of things, check out our complete guide on how to create a book as a gift.
Of Course! Here Is Your All-New, Human-Written Section:
A Few Common Questions We Get About Sibling Books
Even when you’re excited to start, a few little questions can pop up. It’s completely normal. You’re pouring your heart into this project, and you want to get the details just right.
Think of this as your friendly guide to navigating those final steps. From finding the perfect age to gift it, to making sure every sibling feels the love, we’ve got your back.
What Is the Best Age for a Sibling Book?
This is a fantastic question, and the answer is wonderfully flexible. There’s no single “right” age—the magic just changes a bit depending on who you’re making it for.
For Toddlers (ages 2-4): These books are incredible tools for preparing a little one for a new baby. A simple story that casts them as the proud, helpful big sibling can turn anxiety into excitement for their new role. We’ve seen it work wonders.
For Young Children (ages 5-8): At this age, the book becomes a celebration of their bond. A story built around shared memories, inside jokes, or imaginary adventures helps them see their relationship as something special and worth protecting.
The trick is to match the story's complexity to the kids. A sweet, rhyming narrative is perfect for a toddler, while a more detailed adventure story will capture an older child’s imagination.
How Many Photos Should I Use?
It’s so tempting to include every single adorable photo you have, but trust me on this one: less is more. A good rule of thumb is to aim for one to two photos per two-page spread.
For a standard 20-page book, that means picking around 15-25 of your absolute best, high-quality photos. This gives each image room to breathe and prevents the pages from feeling cluttered. You’re telling a focused story, and a few powerful photos that move the narrative forward are far more effective than a dozen similar ones.
One perfect, candid shot that truly captures their bond is worth more than five posed pictures. Let each photo have its moment.
Can I Make a Book for More Than Two Siblings?
Absolutely! A personalized book is a beautiful way to celebrate the unique dynamic between three, four, or even more kids. The key is making every child feel like a star.
When you’re writing for a bigger crew, you can build the story around shared family activities or adventures. You could also dedicate certain pages to the special relationships between different pairs of siblings. For instance, one page might show the two oldest reading together, while the next shows everyone playing at the park. As long as each child gets their moment to shine, the book will feel inclusive and special to everyone.
What Are the Most Common Mistakes to Avoid?
Creating your book is a labor of love, but a few common slip-ups can take away from the final magic. Knowing what they are ahead of time can help you create a keepsake that feels polished and professional.
Here are the biggest pitfalls we see:
Using Low-Resolution Photos: Images that look fine on your phone can turn out blurry or pixelated in print. Always, always use the highest-quality files you have.
Forgetting to Proofread: A tiny typo, especially in a name, can be really distracting. My favorite trick is to read the text aloud—it forces you to slow down and catch things you’d otherwise miss.
Overly Complicated Text: Keep your sentences short and sweet, especially for little listeners. The story should feel easy and fun, not like a chore.
Inconsistent Design: Stick to just one or two complementary fonts and a consistent color scheme. This simple step gives your book that cohesive, professionally designed feel.
Keeping these little tips in mind will put you on the fast track to creating a flawless family treasure.
Ready to turn your family's precious moments into a story they'll cherish forever? At Once Upon A Memory Books LLC, we make it simple to create a beautiful, high-quality personalized sibling book in just a few clicks.


