Blog
family picture books: Turn Your Photos into Stories Your Kids Will Love
Turn your family photos into a beautiful story with our quick guide to creating custom family picture books your kids will treasure.

Your family’s most precious moments are probably scattered everywhere—on your phone, in a cloud drive, maybe even still on your camera. Creating a family picture book turns those digital memories into a real, tangible story your kids can hold in their hands, helping them see their place in your family’s history.
I’ll walk you through how to do it.
Why Your Family Story Belongs in a Book
Let's think beyond a simple photo album. A book with a story doesn't just show pictures; it tells a narrative. It turns everyday moments, like a trip to the park or a messy afternoon baking cookies, into chapters of a grand adventure. For a child, seeing their own life reflected in the pages of a book builds their self-esteem and deepens their sense of belonging.
And honestly, this process is simpler than you might think. We'll break it down into easy, manageable steps. You don’t need to be a professional designer to create a beautiful, high-quality keepsake your family will treasure.
From Digital Chaos to Cherished Keepsake
The goal here is to take that chaotic camera roll and shape it into a cohesive story. You're not just collecting photos; you're curating memories and giving them a permanent home where they can be enjoyed screen-free for years to come.
This visual shows the simple journey from digital clutter to a treasured physical book.
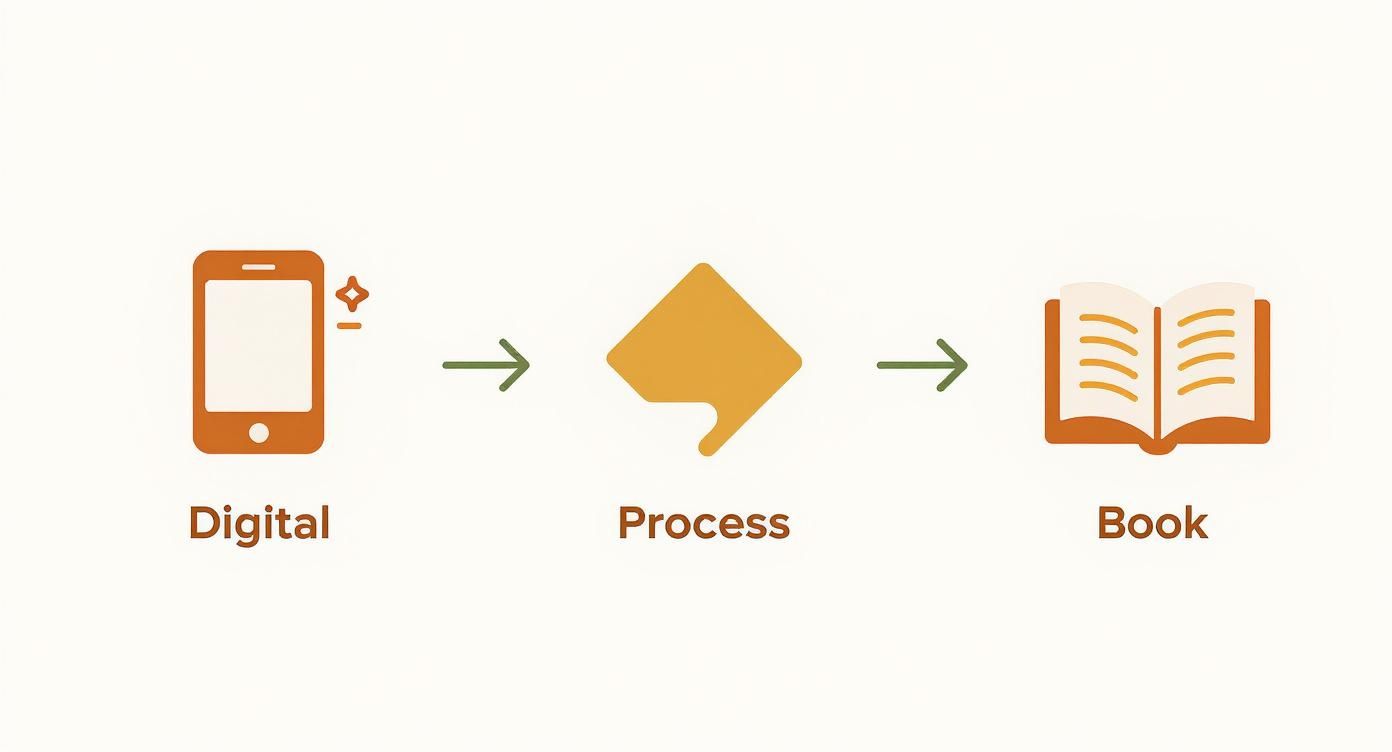
It really just highlights how a focused process can transform scattered files into a meaningful heirloom. It’s all about being intentional with your family’s legacy.
Parents everywhere are looking for these kinds of meaningful connections. In fact, the global children's picture book market is projected to hit about USD 6.93 billion by 2034. Here in North America, family-themed books are a huge part of that because we value stories that mix entertainment with a personal touch.
A family picture book is more than a collection of images; it’s a conversation starter, a bedtime ritual, and a tangible piece of your child’s history. It’s their story, told through your eyes.
By turning your memories into a story, you create something that can be passed down for generations. If you have very little ones, you might also be interested in these ideas for creating personalized story books for toddlers that capture their earliest milestones.
Finding the Heart of Your Family Narrative
Before you even start scrolling through your camera roll, let's talk about the most important part of creating a family picture book: the story. A clear, heartfelt theme is what separates a random collection of photos from a treasure your family will read over and over again.
Think of yourself as the family storyteller. What chapter are you trying to tell? This is your creative compass, and nailing it down first makes every other step—from choosing photos to writing captions—so much easier.
What Story Do You Want to Tell?
The best stories often come from the heart of your family's everyday life. Was there a big milestone this year? A trip you still talk about? Or maybe it's the quiet story of your little one's first few years.
A strong theme doesn't have to be dramatic. It just needs a simple beginning, a middle, and an end to feel complete and satisfying.
To help you get started, here's a look at a few popular ideas that work beautifully for family picture books.
Choosing Your Family Picture Book Theme
Book Theme Idea | Best For | Photo Requirements | Storytelling Style |
|---|---|---|---|
A Year in Review | Capturing the highlights of the past 12 months, perfect for an annual family tradition. | A mix of seasonal shots, candids from holidays, birthdays, and everyday moments. | Chronological, moving from January to December or season by season. |
The Big Trip | Documenting a memorable family vacation, from the excitement of leaving to the journey home. | Lots of photos from one specific trip—scenery, activities, and plenty of family selfies. | A clear narrative arc: the travel, the adventure, and the return. |
A Milestone Story | Celebrating a single, significant achievement like learning to ride a bike or a new baby's arrival. | Focused on one event. Photos showing the "before," "during," and "after" are great. | A focused, emotional story that builds up to the big moment. |
The Tale of a Pet | Telling the story of a furry family member, from adoption day to their silliest antics. | A collection of photos of your pet over time—as a puppy/kitten, playing, and with the family. | Often humorous and sweet, showing how the pet became part of the family. |
No matter which theme you land on, the goal is to create something that feels like a warm conversation. You want your child to pull it off the shelf and say, "Tell me this story again."
Finding Your Narrative Arc
Once you have your big idea, sketch out a simple story arc. For a beach vacation book, it could look like this:
Beginning: The excitement of packing the car and the long drive.
Middle: All the fun stuff—building sandcastles, swimming in the ocean, eating ice cream.
End: Watching the last sunset over the water before heading home.
This simple structure is what transforms a photo album into a real storybook, and it’s especially powerful for bedtime reading.
In fact, picture books make up around 60% of all children’s book sales, with many parents buying them specifically for that wind-down ritual before sleep. You can see more details about the children's book market here.
By taking a little time to build a real narrative, you’re not just making a book; you’re creating a go-to favorite for years to come.
Curating Photos That Tell Your Story
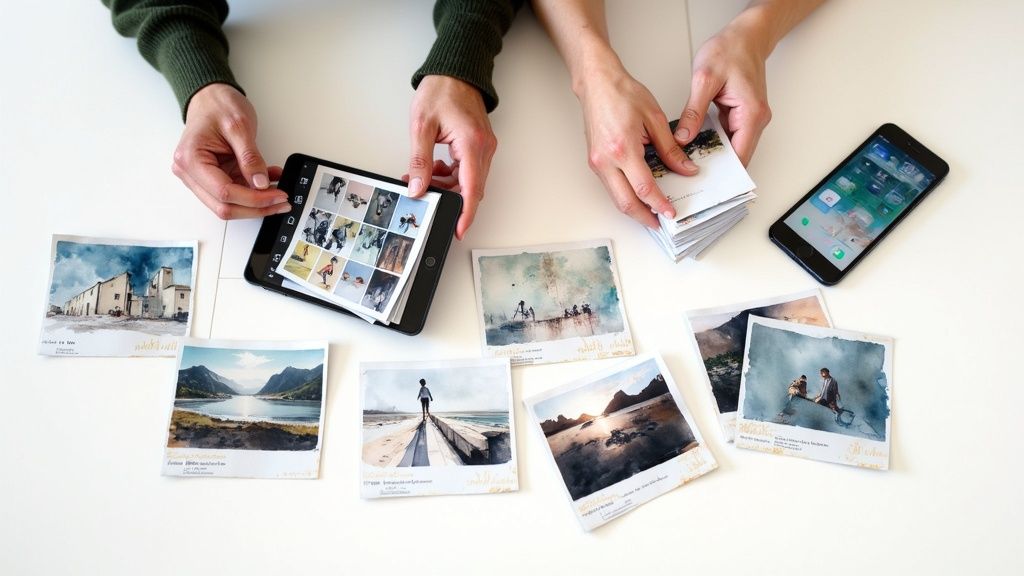
With your story idea in mind, it's time for my favorite part: the photo hunt. This is where your family picture book starts to feel real, turning an abstract theme into something you can see and feel. Think of yourself as a family historian, digging for the visual treasures that bring your story to life.
First, you’ll need to cast a wide net. Our photos live everywhere these days—on our phones, old laptops, forgotten hard drives, and scattered across social media. Set aside a little time to go through these digital shoeboxes and pull every single image that feels like it could fit your theme into one central folder. Don't overthink it yet; just gather.
From Digital Pile to Curated Collection
Okay, got your giant pile of photos? Now we bring in some order. Create subfolders that match the chapters or flow of your story. If you're making a "Year in Review" book, your folders might be "Winter Fun," "Spring Break," "Summer Vacation," and "Holiday Magic." This one little step turns a chaotic mess of hundreds of images into a collection you can actually work with.
Now for the real magic: choosing the final images. As you sort, look for more than just the perfect, everyone-looking-at-the-camera smiles. The books that pull you in are filled with life, feeling, and those beautifully imperfect moments.
Look for emotion: A photo of your child’s uncontrollable giggle or a quiet, sleepy snuggle often says more than a formal portrait ever could.
Capture the action: Messy hands covered in baking flour, a triumphant face after learning to ride a bike, a splash in a puddle—these are the pictures that tell a story.
Find the details: Don't forget the close-ups. Tiny hands wrapped around your finger, a favorite teddy bear worn from love, or a crayon drawing taped to the fridge add so much heart and texture.
This is where you stop just collecting and start truly crafting your visual narrative. If you're looking for more tips on this part of the process, our guide on making a custom book with photos has some great ideas to help you along.
Prioritizing Quality for a Lasting Keepsake
As you narrow down your favorites, it’s time to get a little technical. A photo that looks amazing on your tiny phone screen can sometimes look blurry or pixelated in a printed book. It’s always, always best to use the original, high-resolution file. Try to avoid pulling images from social media or text messages, as they are often compressed and lose a ton of detail.
Here's my rule of thumb: choose photos that feel alive. If an image makes you smile or brings back a specific feeling, it’s earned its spot. The goal isn't just a collection of pictures; it's a gallery where every single image moves the story forward.
By taking the time to gather, organize, and select your photos with care, you’re laying the foundation for a beautiful book. Each page will be filled with crisp, vibrant memories that capture the true spirit of your family—a keepsake you’ll treasure forever.
Designing Pages and Writing with Heart
You’ve got your photos—the little moments and big memories that tell your family’s story. Now for the really fun part: weaving them together with words and design. This is where a collection of pictures transforms into a real, honest-to-goodness storybook that you’ll want to read over and over.
The secret here is to write from the heart and design with intention. The words don’t need to be fancy or complex. Actually, for little ones, simple and sincere is always more powerful.
Writing for Little Readers
When you're writing for kids, think short and sweet. Simple sentences are much easier for them to follow along with. The goal is to add a little color to the images, not to write a novel.
For example, instead of just saying, "We went to the beach," you could try something like, "The warm, yellow sand tickled our toes as we ran to the sparkly blue ocean." See the difference? It pulls them right into the memory.
One of my favorite tricks is to sprinkle in little questions on the pages. A simple, "Do you remember how cold the water felt?" or "What was your favorite part of this day?" turns a passive flip-through into a conversation. It’s how a photo album becomes a treasured bedtime ritual.
Choosing Your Creative Tools
Okay, let's talk design. I promise you don’t need to be a graphic designer to make a beautiful book. There are so many amazing online tools out there built for exactly this kind of project.
For Simplicity and Speed: If you want something straightforward and fast, services like Shutterfly and Mixbook are fantastic. They offer tons of pre-designed templates where you just drag and drop your photos into place. They handle all the technical stuff, letting you focus on the story.
For Creative Freedom: If you're like me and want a bit more control, Canva is a wonderful choice. It’s the perfect middle ground—plenty of user-friendly templates but also powerful tools to let you customize fonts, colors, and the placement of every single thing on the page.
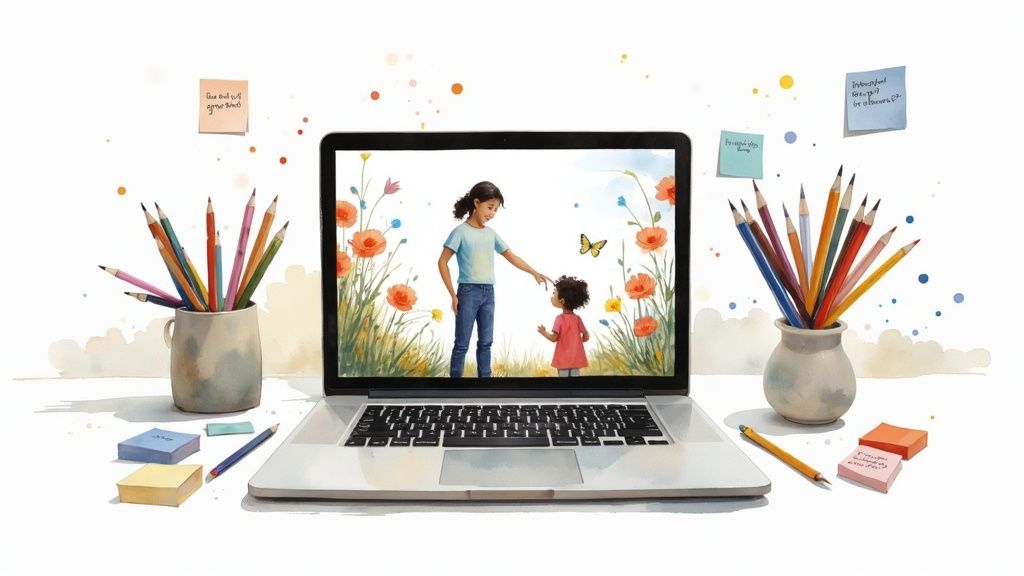
Here’s a peek at what you can expect from a tool like Canva. It’s all about finding a style that matches your family’s vibe.
Whether your family is modern and clean or playful and chaotic, there’s a template that will feel just right.
Your goal is to create a visual rhythm. Vary your layouts—some pages might have a single, powerful image, while others feature a collage of smaller moments. This keeps the book visually exciting and draws the reader's eye through the story.
This focus on creating meaningful books for kids isn't just happening in our homes; it's a global trend. The children's picture book market in the Asia-Pacific region, for instance, is seeing huge growth, with a projected CAGR of around 7.2%. This is all driven by a growing appreciation for early literacy and stories that reflect unique family values. If you're curious, you can read about the global children's picture book market to learn more.
Ultimately, whether you pick a template or design every page from scratch, just remember the basics. Leave plenty of white space so your photos can breathe, and choose a fun, readable font that feels warm and kid-friendly. Every design choice should serve the story, making each turn of the page a delightful new discovery.
Printing a Book Built to Last
This is the moment where all your hard work pays off. Your digital creation is about to become a real, physical heirloom you can hold in your hands. But before you hit that “order” button, it’s time for one last, careful look. Think of this pre-print check as your best defense against a sneaky typo or a blurry photo making it into the final product.
Slow down and read every single word out loud. It feels a little silly, but it's a trick that forces your brain to catch awkward phrasing or spelling errors your eyes might otherwise skim right over. Then, zoom in on each photo one last time to make sure there are no low-resolution warnings. This final quality check ensures your book looks just as beautiful in hand as it does on your screen.
Making the Right Physical Choices
Okay, with the content locked in, you get to decide what form your story will take. These choices—the cover, the paper, the binding—are what give the book its character and durability. It’s worth taking a moment to think about how your family will actually use it.
Will this be a beautiful coffee table book for special occasions? Or a sturdy, hands-on book for a toddler to love? If it's for the littlest readers, you might want to explore options for custom board books designed to withstand enthusiastic page-turning and maybe even a little drool.
Pro Tip: Don’t rush this part. Let your project sit for a day before you do the final proofread. Fresh eyes are so much better at spotting the tiny mistakes you’ve been staring at for hours.
To help you decide, here’s a quick guide to choosing the right cover, paper, and binding to make your keepsake perfect.
Printing Options for Your Family Picture Book
Feature | Hardcover | Softcover | Recommendation |
|---|---|---|---|
Durability | Excellent. The rigid cover protects pages from bending and everyday wear. | Good. Flexible and lightweight but more prone to bent corners over time. | For a true heirloom or a book for young kids, hardcover is the best investment. |
Feel | Premium and substantial. It feels like a traditional storybook from the library. | Casual and modern. Feels more like a high-quality magazine or a paperback. | If you're creating a gift for a big milestone, the premium feel of a hardcover stands out. |
Paper Finish | Often paired with matte or semi-gloss paper for a professional, clean look. | Can be paired with glossy or matte, but glossy is common for vibrant colors. | Matte paper reduces fingerprints and glare, making it great for little hands. Glossy makes photo colors pop. |
Cost | More expensive, typically costing 20-40% more than a similar softcover. | A more budget-friendly option, especially if you plan to print multiple copies. | For annual family yearbooks or multiple gifts, softcover offers significant savings. |
Choosing between these options really just comes down to your vision and budget. There's no wrong answer—only what's right for your family's story.
One last little tip: keep an eye out for promotions. Most online printing services run sales around big holidays like Mother's Day, Father's Day, and Christmas. Signing up for their email newsletter a few weeks before you plan to order is an easy way to snag a discount code. You can create a premium-feeling book without stretching your budget.
Your Questions, Answered: A Guide to Making Family Picture Books
Even with the best ideas, a few practical questions always pop up when you start a creative project. I get it. You want to get it right.
Let's walk through some of the most common hurdles people face when making a family picture book. Think of this as your friendly guide to keeping things simple and fun.
What's the Best Software for Making a Family Picture Book?
The "best" tool really boils down to how much creative control you want versus how much you just want to get it done beautifully and quickly. There's no single right answer, just the right fit for you.
For total beginners: If you're new to this, services like Shutterfly, Mixbook, and Snapfish are your best friends. They're built around easy-to-use templates. You just upload your photos, drag them into place, and the platform handles the heavy lifting. It’s fast and practically foolproof.
For a little more creative freedom: Canva is a fantastic middle ground. It has tons of great templates, but it also lets you tweak layouts, play with fonts, and add your own graphic elements. It's the perfect step up if you want to put your own spin on things without needing a design degree.
For the pros (or aspiring pros): If you have a background in graphic design, Adobe InDesign offers complete professional control. It’s an amazing tool, but honestly, it has a steep learning curve that can be overwhelming for a first-timer.
My honest advice? If this is your first book, start with a template-based service. It lets you focus on the story and photos without getting bogged down by complicated design tools. You can always get more ambitious on your next project!
How Many Pages Should My Family Picture Book Be?
The sweet spot for most family picture books is between 20 and 40 pages. This is long enough to tell a complete story but short enough to hold a little one's attention from start to finish.
Think of it like this:
A 20-page book is perfect for a short, focused story. Think "Our Trip to the Beach," "Lily's Third Birthday," or "A Day with Grandma."
A longer, 40-page book gives you room for a bigger narrative, like "Our Family's Year in Review" or "The Story of Your First Year."
Most online printing services have a minimum of 20 pages and let you add more in two-page increments. The key is to focus on quality, not quantity. A tight, meaningful 24-page book is always better than a padded 50-page one.
How Do I Make Sure My Photos Will Print Clearly?
This one is critical. For a beautiful, professional-looking book, you have to start with high-quality photos. The golden rule is to always use the original, high-resolution image file.
Avoid using photos you've saved from Facebook or that were sent to you over text message. Those platforms compress images to save space, which strips out the data needed for a crisp print. The result? Blurry, pixelated pictures.
Here’s how to get it right:
Trust the Warnings: Nearly all book-making software will flag a low-quality image. If you see a little warning icon (often a yellow triangle or exclamation mark), take it seriously. It means the photo's resolution is too low for the size you've chosen.
Know Your DPI: For the tech-savvy, the goal is 300 DPI (dots per inch) at the size it will be printed. If that sounds like gibberish, don't worry—just follow the first rule!
When in Doubt, Go Smaller: Have a photo you absolutely love but the quality is a bit fuzzy? Don't try to stretch it across a full page. Instead, use it as a smaller photo in a collage.
What Are Some Creative Ideas for Our Finished Book?
Don't just let your beautiful creation gather dust on a shelf! A family picture book can become a living, breathing part of your family's daily life.
Beyond being a keepsake, it can be a tool for connection:
Make it a bedtime ritual. Reading a story starring themselves is a wonderfully calming way for a child to wind down.
Prepare for a new experience. An upcoming move? A new sibling on the way? Create a book about past positive changes to help ease their anxiety and build excitement.
Bring it to family gatherings. It’s an instant conversation starter that connects generations. Grandparents love seeing themselves in the story, and kids get to hear the tales behind the photos.
Give it as a gift. These books make incredibly personal and cherished gifts for grandparents, aunts, and uncles. They are a guaranteed hit for holidays and birthdays.
At Once Upon A Memory Books LLC, we turn your treasured photos into beautiful, AI-powered storybooks your children will adore. Create a custom hardcover book in minutes and give your family the gift of their own story. Start creating your personalized book today!


