Blog
How to Make Your Own Board Book A Step-by-Step Keepsake Guide
Learn how to make your own board book with this complete guide. We cover story ideas, materials, and safe assembly for a perfect toddler keepsake.

So, you're thinking about making your own board book. It's an amazing project, and you really have two main paths: you can get crafty and assemble one by hand with cardstock and non-toxic glue, or you can design it online using a printing service that specializes in them.
Either way, the goal is the same: creating a toddler-safe keepsake with those wonderfully thick, durable pages, filled with the faces and simple stories your little one loves. You’re turning precious family moments into a first book they can truly call their own.
Creating a Cherished Keepsake for Your Child
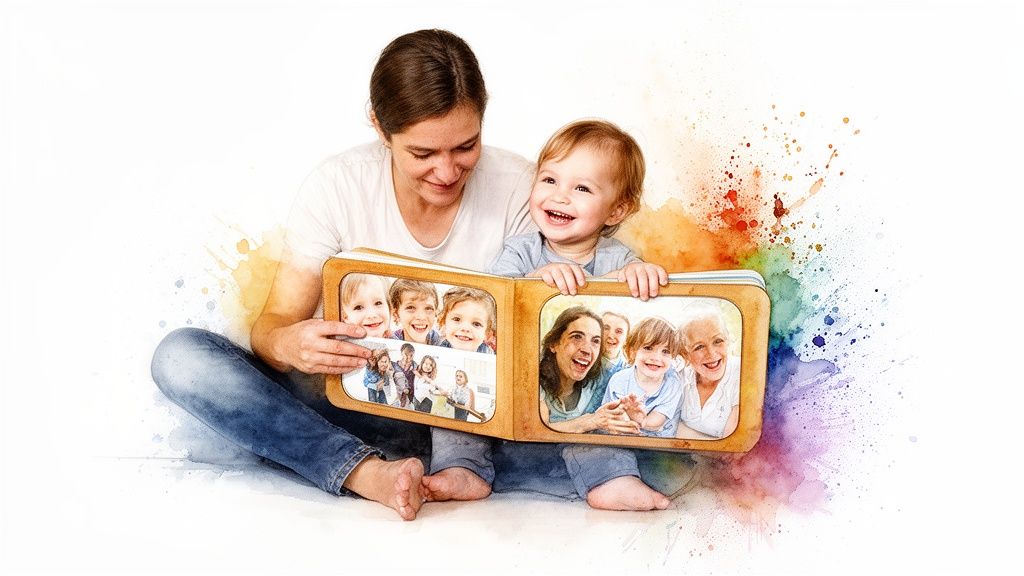
Before we jump into the how-to, let’s talk about the why. This is so much more than just a DIY activity. You're building a tangible piece of your family's story that your toddler can safely hold, chew on, and absolutely adore.
There’s something truly magical about a child seeing familiar faces—Mom, Dad, a sibling, or even the family dog—right there in the pages of their very own book. It's a powerful way to kickstart early literacy and deepen that cozy, emotional bond.
The Power of a Personalized Story
Just imagine it. A trip to the park, a visit with Grandma, or just a silly afternoon in the living room becomes a captivating story your child will ask for again and again. A custom book offers a durable, screen-free way to connect and make memories that stick.
Even with tablets and phones everywhere, print books still reign supreme for the youngest crowd. In fact, market data shows print is expected to hold about 65% of the children's book market in 2025. Parents just instinctively know that a tactile, physical book is what little ones need.
This connection to a real book helps in so many ways. It allows you to:
Strengthen Recognition: Help your child learn the names and faces of the most important people in their world.
Encourage Language: Use simple, repetitive words and phrases that are perfect for developing language skills.
Build Positive Associations: Create a warm, happy feeling around books and reading right from the start.
As you get started, remember that you’re giving the lifelong gift of reading to your baby. A homemade book is one of the most personal and powerful first steps on that journey. If you decide the DIY route isn't for you, our guide on how to https://onceuponamemorybooks.com/blog/create-your-own-personalized-book can walk you through using our service.
Planning Your Story and Choosing Your Materials
Every great board book starts with a simple, heartfelt idea. Before you cut a single piece of paper or choose a single photo, take a moment to dream up the story you want to tell. This is the step that turns a craft project into a forever keepsake.
The best stories for toddlers are the ones that mirror their own little worlds. Think about themes they can instantly connect with. Simple concepts like "A Day in My Life," "Our Amazing Family," or "An Adventure to the Park" are perfect starting points. These familiar stories help them make sense of their own experiences.
Crafting a Toddler-Friendly Narrative
When you make your own board book, the story needs to be simple. Think of a clear beginning, middle, and end. For example, a book about a park trip could start with getting shoes on, show the fun of the slide in the middle, and end with a sleepy car ride home.
Repetition is your best friend here. Toddlers thrive on predictable patterns, so using a recurring phrase like, "And what did we see next?" on each page builds excitement and gets them to join in. Don't overcomplicate things—a single, simple sentence per page is more than enough to bring your photos to life. Our guide on how to make your own book for kids has a few more ideas for crafting simple, engaging stories.
The durable, thick-paged format of board books actually came about in the late 20th century as the perfect solution for tiny hands just learning about literacy. Today, the children’s picture book market is a massive industry, estimated at USD 12.34 billion in 2025 and still growing. If you're curious, you can discover more insights about the children's picture book market.
Gathering Your Supplies
Once your story is mapped out, it's time to figure out how you'll actually make the book. You have two main paths: a completely hands-on DIY approach or using a professional print-on-demand service. Each one requires different materials and a different kind of effort.
A full-on DIY project gives you total creative control. You’ll be hands-on with every single step, from gluing the pages together to binding the final book.
Heavy Cardstock: You'll want paper that is at least 110 lb (or 200 gsm). You’ll be layering these sheets to create those thick, sturdy pages.
Non-Toxic Glue or Adhesive Sheets: Safety is everything. Make sure you choose an acid-free, AP-certified non-toxic glue to stick your pages together.
High-Quality Photo Prints: Use a good photo printing service for crisp, clear images that won’t smudge or fade.
A Corner Rounder: This simple little tool is a must-have. It creates those safe, rounded corners that won't poke your toddler.
A Self-Healing Mat and Craft Knife: For precise, straight cuts that give your book that clean, polished look.
Pro Tip: When you're picking photos, go for high-resolution images with bright, clear subjects. Expressive faces and action shots are gold—they capture a toddler's attention and tell the story visually, even without any words. A picture of a huge laugh or a curious glance can carry a whole page all by itself.
On the other hand, using a print-on-demand service makes the process much simpler. You won't need any craft supplies at all, just your digital photos and the text for your story. The service handles all the printing, assembly, and binding, delivering a professional-quality book right to your door. This is a fantastic option for busy parents or if you're hoping to create a really high-quality gift.
To help you decide, here’s a quick look at what you’ll need for each approach.
DIY vs Print Service Material Checklist
Item | Fully DIY Approach | Using a Print Service |
|---|---|---|
Photos | Physical, high-quality prints | Digital, high-resolution files |
Paper/Pages | Heavy cardstock (110 lb+ or 200 gsm+) | None (handled by the service) |
Adhesive | Non-toxic glue or adhesive sheets | None (handled by the service) |
Cutting Tools | Craft knife, self-healing mat, ruler | None |
Safety Tools | Corner rounder | None |
Software | Basic photo editor (optional) | The service's online design tool |
Time | Several hours for assembly & drying | 30-60 minutes for design & upload |
As you can see, the DIY route is for the crafter who loves getting their hands dirty, while a printing service is perfect for anyone who wants a polished, professional result without the mess.
Designing and Assembling Your Book with Care
This is where the magic really happens. Whether you're carefully crafting by hand or laying everything out online, this is the stage where your ideas and photos become a real, tangible book. Let’s walk through both paths, keeping our focus on creating something that’s beautiful, durable, and completely safe for your little one.
The Hands-On, DIY Method
If you’ve chosen to go the full DIY route, your first step is printing those photos. For the best result, I always recommend a high-quality photo printing service. Opt for a matte or lustre finish—glossy prints look lovely but become a magnet for tiny fingerprints in about five seconds.
Once you have your prints, you'll mount each one onto a sheet of heavy cardstock. This will form one side of a page.
The best way I've found to do this is with adhesive spray or double-sided adhesive sheets. This gives you a smooth, even application and avoids the bubbles or ripples that liquid glue can sometimes leave behind as it dries.
This simple workflow—idea, photos, text—is the foundation for a great book.
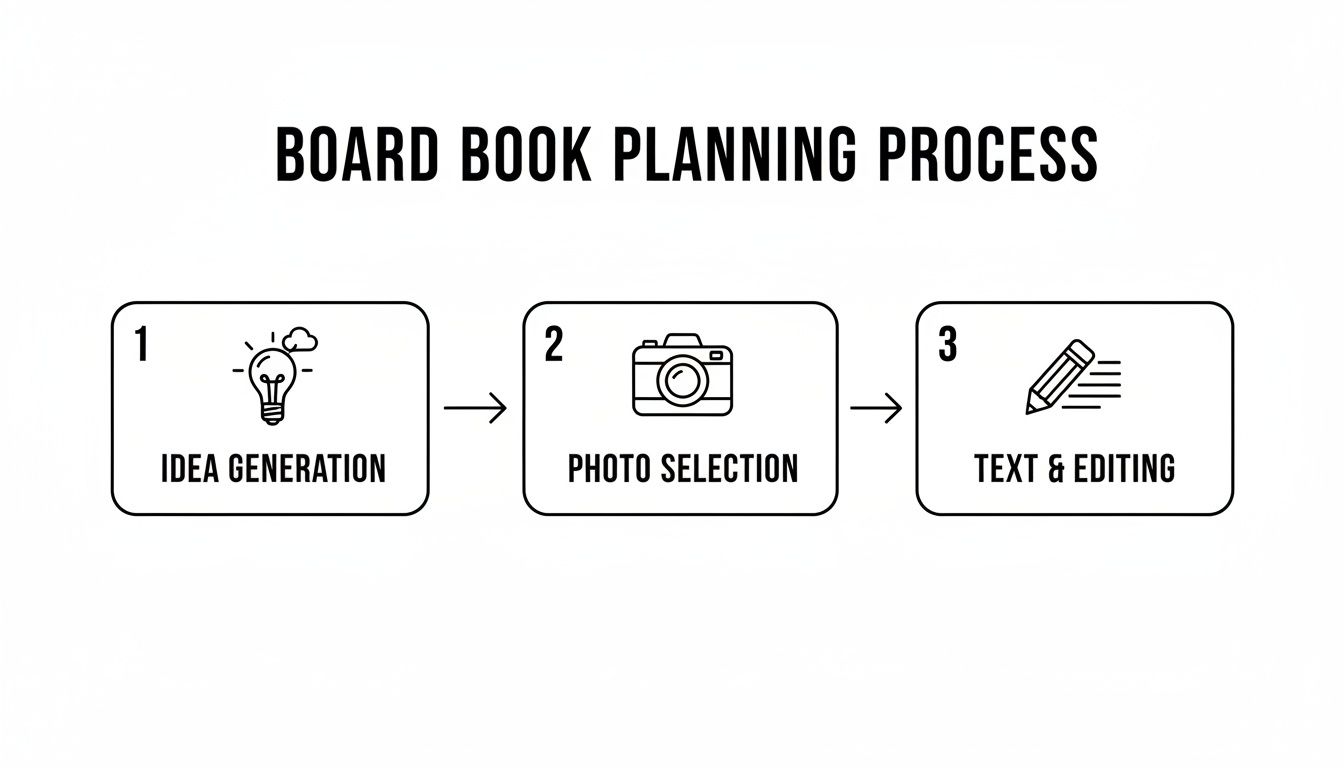
Keeping these core stages in order makes the whole project feel much more manageable.
Achieving a Professional DIY Finish
After your photos are mounted, you’ll glue two of these cardstock sheets back-to-back. This is what creates that single, ultra-thick board book page. Here's a pro tip: once you’ve glued them, place the pages under a heavy stack of books to press them flat while they dry. This is crucial for preventing any warping.
For that clean, polished look, precision is everything. You'll need a sharp craft knife, a metal ruler, and a self-healing cutting mat to trim your pages to a uniform size. Please don't use scissors for this step; they almost never give you a perfectly straight edge.
If you’re looking for a little more inspiration, exploring different papercraft ideas for kids can spark some fun new ways to embellish your pages or cover.
Crucial Safety Takeaway: Every single choice from here on out has to be made with your toddler in mind. Always use AP-certified non-toxic and acid-free glue. Most importantly, round every single corner—on every page and the cover. A simple corner-rounding tool from a craft store is a must-have investment for this project. It prevents those sharp corners from causing accidental pokes and scrapes.
Navigating Online Design Tools
Opted for a printing service instead? Great! Your assembly process is all digital, and these services make it incredibly simple. Their online design tools are usually very intuitive. You’ll start by choosing a book size and the number of pages.
From there, you’ll upload your high-resolution photos into the tool’s gallery. Then it's just a drag-and-drop process. You can pop your images into pre-made templates or arrange them freely on each page yourself.
Here are a few quick tips to make your online design shine:
Mind the "safe zone." Most tools show a guideline near the edge of the page. Keep all your important text and key parts of your photos inside this line. It’s your guarantee that nothing gets accidentally trimmed off during printing.
Keep fonts simple and bold. You want something that’s easy for early readers to recognize. Clean, sans-serif fonts like Helvetica or Arial are perfect choices.
Preview, preview, preview. Use the preview function constantly to see how your spreads will look in the final book. It’s the best way to check the flow of your story and make sure your photos and text feel balanced.
By focusing on these little details—whether you’re wielding a craft knife or a mouse—you can confidently create a board book that’s not just a beautiful keepsake, but a safe and well-loved toy.
Binding Methods for a Durable Finish
Okay, this is the moment your stack of pages officially becomes a real, lasting book. A strong, toddler-proof binding is what separates a craft project from a keepsake that can handle enthusiastic page-turning (and the occasional chew).
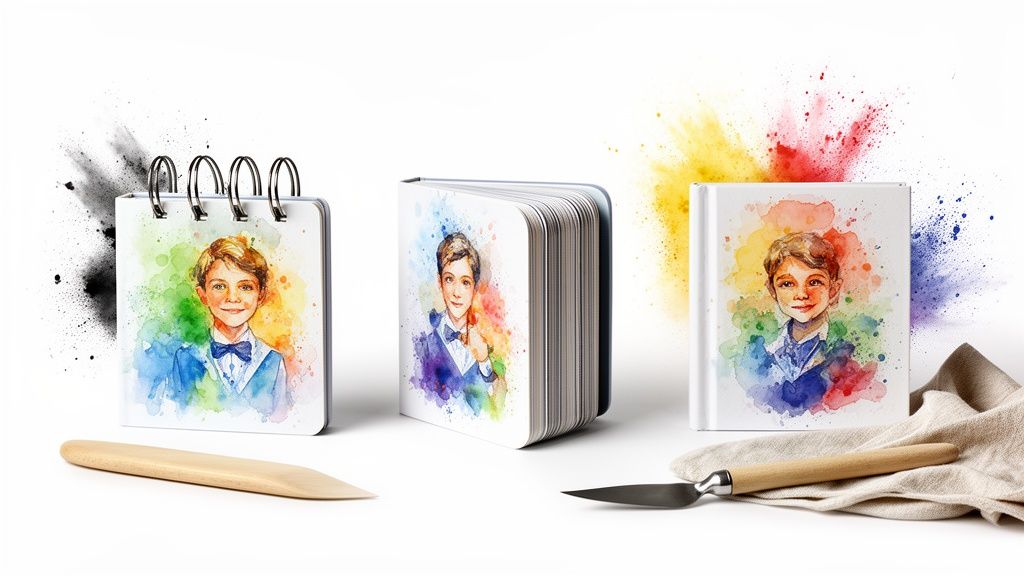
You’ve got a few great options here, ranging from simple and quick to a more polished, professional look. The right choice really just depends on the tools you have on hand and the style you're going for.
Simple and Sturdy Binding Options
For a straightforward finish that's incredibly durable, binding rings are a fantastic choice. These are the small metal or plastic rings that snap open and closed, letting you thread them through holes punched in your pages. The best part? This method is wonderfully forgiving—if a page ever gets seriously damaged, you can just unclip the rings and swap it out.
Binding Rings: Grab a standard hole punch and make one or two holes along the spine of each page. The key is to keep the holes in the exact same spot so everything lines up perfectly. Thread the rings through and snap them shut. Done.
Bookbinding Tape: Another great option is a wide, heavy-duty bookbinding tape or cloth tape. Just line up your pages in order, clamp them together tightly, and run a strip of tape securely down the spine. Make sure you wrap it around to cover both the front and back for a strong, flexible hinge.
My Personal Tip: When you’re using tape, run a bone folder or even the edge of a credit card firmly along the tape. This pushes out any air bubbles and creates a super strong bond. It’s a tiny step that makes a huge difference in how clean and durable the spine looks.
Creating a Seamless Spine
If you're feeling a bit more ambitious and want that classic, bookstore-quality look, creating a seamless spine is the way to go. This technique is all about gluing the pages directly to a reinforced spine piece, completely hiding the individual page edges.
It definitely requires more precision, but the result is a truly polished book where the cover wraps around the entire block in one beautiful piece.
Create the Book Block: First, get all your finished pages in the correct order and clamp them together tightly.
Reinforce the Spine: Next, apply a flexible, strong adhesive like PVA glue all along that clamped spine edge. For extra strength, you can embed a small strip of cheesecloth or mull into the glue while it’s wet.
Attach the Cover: Create a single-piece cover from heavy cardstock that’s wide enough to wrap around the front, spine, and back of your page block. Glue your book block directly onto the center of the inner cover and press it down firmly.
Once your book is bound, take a moment for the final touches. Wipe everything down with a soft, dry cloth to get rid of any leftover glue or craft dust. Use your bone folder one last time to sharpen the creases on the cover—it gives the book that crisp, finished feel. These little actions are what elevate your project from a simple craft to a cherished keepsake.
Deciding Between DIY and a Professional Service
The hands-on process of making a board book is incredibly rewarding, but it’s not the only way to create a beautiful keepsake. Sometimes, letting a professional service handle the printing and binding is absolutely the right call.
The decision really boils down to a simple trade-off between your time, your budget, and the final quality you’re hoping for.
Choosing to make your own board book from scratch is a real commitment. It means sourcing materials, cutting everything just right, gluing precisely, and having a whole lot of patience while things dry. The joy is in the process itself—that feeling of crafting something truly unique with your own two hands.
On the other hand, using a professional service shifts your effort from physical crafting to digital design. You’ll spend your time picking the perfect photos and arranging them in an online tool, while the experts handle all the tricky printing, cutting, and binding.
When a Professional Service Is the Best Choice
While the DIY approach offers the ultimate personal touch, there are definitely times when a professional printing company is the clear winner. See if any of these situations sound familiar.
You Need a Flawless, High-Quality Gift: If you’re creating a book for a first birthday, a baby shower, or a special holiday, you probably want that polished, bookstore-quality finish. Professional services use archival-quality inks and create those perfectly rounded corners, making the book look and feel truly premium.
Time Is Your Most Limited Resource: Let’s be real—for busy parents, the hours needed for a full DIY project just might not exist. A professional service lets you design a stunning book in under an hour. That frees you up to spend that precious time with your family instead of at a craft table covered in glue.
Durability and Longevity Are Top Priorities: Professionally printed board books are built to last. They’re made to withstand years of enthusiastic page-turning, chewing, and being loved a little too hard. If you want to be certain your keepsake will survive to be passed down, this is the most reliable way to go.
A professional book is an investment in a memory that lasts. The global books market is projected to grow to USD 202.24 billion by 2032, which just goes to show how much people value high-quality books, especially for gifts. You can read the full market research about the growing book industry if you're curious.
Making the Final Call
Ultimately, there’s no wrong answer here. The best path is the one that fits your life and what you hope to get out of this project.
Think about your main motivation. Is it the creative journey and the handmade charm? Or is it having a perfect, durable keepsake to cherish for years?
Answering that simple question will point you in the right direction. Whether you choose the hands-on fun of DIY or the polished ease of a professional print, the result will be a treasured storybook your child will absolutely adore.
If you’re leaning toward a service, you can learn how to create a custom board book with Once Upon a Memory and see just how simple the process can be.
Got Questions About Making Your Own Board Book?
Once you start dreaming up your custom board book, a few practical questions always pop up. It's totally normal. Think of this as your quick-reference guide for all those little details that can feel overwhelming at first.
Let's get you some clear, simple answers so you can get back to the fun part—creating something your toddler will absolutely love.
What’s the Best Paper Thickness for a DIY Board Book?
You know that satisfying, chunky feel of a real board book? The kind that can survive being chewed on, dropped, and loved aggressively? That’s what we’re aiming for.
For that authentic sturdiness, each page needs to be at least 300-400 gsm thick. The easiest way to get there is by gluing two or three sheets of heavy cardstock together. For example, grabbing two sheets of 110 lb cardstock (which is about 200 gsm each) and bonding them will land you right in that sweet spot. This is the key to preventing those frustrating bends and tears.
How Do I Make Sure My Homemade Board Book Is Safe for a Baby?
This is the big one. Safety is everything, because let’s be honest—there’s a 100% chance this book is going straight into your little one’s mouth.
Here’s a simple safety checklist I always follow:
Use Non-Toxic Glue: Only use adhesives certified as non-toxic and acid-free. Look for an AP (Approved Product) seal on the label, which means it’s safe for kids’ crafts.
Round Every Single Corner: This is non-negotiable. A corner rounder tool is your best friend here. Use it on every page and both covers to get rid of any sharp points that could poke or scratch.
Skip the Choking Hazards: Steer clear of any small, detachable extras. That means no glitter, no googly eyes, no little ribbons, or buttons. If it can come loose, it’s a hazard.
The goal is to create a worry-free book. When you know it's safe, you can relax and watch them explore every page without hovering.
How Many Pages Should a Toddler’s Board Book Have?
When it comes to toddlers, short and sweet always wins. Their attention spans are tiny, so you want to keep the story moving and the visuals exciting.
The sweet spot for a custom board book is between 10 and 16 pages. That works out to five to eight spreads (a front-and-back page), plus your covers. It’s just enough room to tell a simple story or showcase a series of photos without overwhelming your little reader. My advice? Stick to one clear idea or one captivating photo per page.
Can I Use an App to Design My Board Book Pages?
Absolutely! And you don’t need to be a graphic designer to do it. Using a simple, free design app can make your pages look clean and professional.
Tools like Canva or even Google Slides are perfect for this. Just set your page dimensions (a 6x6 inch square is a classic, easy-to-handle size), upload your photos, and add your text. Once you love how it looks, you can export each page as a high-quality PDF or JPEG, ready for printing.
Ready to turn those cherished memories into a professional-quality keepsake without the DIY hassle? Once Upon A Memory Books LLC makes it simple. Create your personalized storybook today!


