Blog
Make Baby Book: Create a Keepsake They'll Cherish Forever
Discover how to make baby book memories from scratch. Creative ideas, photo tips, and storytelling secrets to craft a lasting family heirloom.

Want to make a baby book? All it really takes is a collection of your favorite photos and memories, a format that you love (like a classic scrapbook or a sleek digital photobook), and a little time to tell the story of your baby's first year.
It’s a project straight from the heart, one that turns those blurry, beautiful newborn moments into an heirloom you can actually hold. And the best part? You don’t need to be a crafting pro to create something truly special.
Why Make a Baby Book?
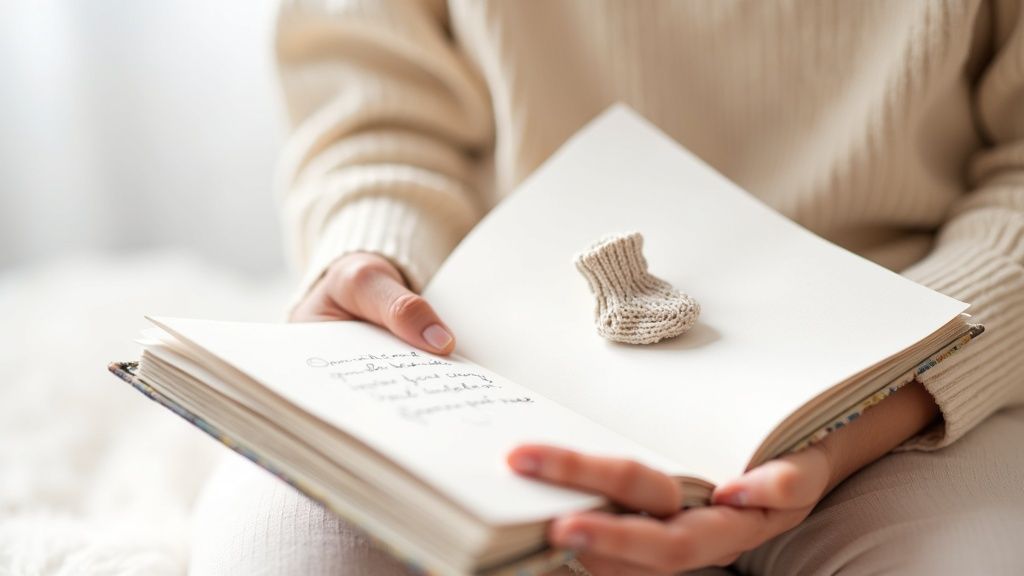
Let's be honest, creating a baby book is so much more than a weekend craft project. It’s an act of love, a way to bottle up all those irreplaceable moments from your baby's whirlwind first year.
This guide is here to walk you through it all, from that first little spark of an idea to the moment you’re holding a finished keepsake. We're going to skip that overwhelming feeling of staring at a blank page and instead focus on simple, meaningful ways to tell your baby's one-of-a-kind story.
You don’t need any special skills, I promise. We’ll explore real-world ways to gather your memories, choose a style that actually fits your life, and weave together photos and stories into a book your family will pull off the shelf for years to come. Think of this as your friendly roadmap to creating a beautiful, personal, and perfectly imperfect memory book.
Capturing a Fleeting Time
The tradition of documenting a child’s early years isn't new; it comes from that deep-seated need to hold onto memories before they fade. This instinct has blossomed into a huge market, with the global baby books industry valued at around USD 4.7 billion in 2024. That number is only expected to grow, which shows just how many families are choosing to create these tangible keepsakes.
But the real value isn’t in the numbers. It’s in capturing:
The Milestones: That first gummy smile, the sound of their first real giggle, those wobbly first steps.
The Details: Their birth weight, the feel of that one soft blanket they couldn't sleep without, or the funny faces they made when trying peas.
The Emotions: The overwhelming, heart-stopping love you felt the first time you held them in your arms.
A baby book is a time capsule of feelings. It’s a way to tell your child, "This is how much you were loved, right from the very beginning."
This guide is designed to help you build that time capsule. And for those looking for extra ideas to make a truly unique memento, our comprehensive custom baby book guide offers even more specialized tips to personalize your project.
Designing Your Baby Book Blueprint
Before you even think about printing photos or picking out the perfect pen, let’s pause. Taking a few moments to sketch out a simple plan will make this whole process feel less like a chore and more like the joyful act of storytelling it’s meant to be.
This isn't about setting rigid rules for yourself. It’s about making a few key decisions upfront that will guide you, keep you motivated, and prevent that dreaded "where do I even start?" feeling down the road.
Thinking about a theme can give your book a beautiful, cohesive feel from cover to cover. It doesn’t need to be complicated! You could go for a dreamy, soft watercolor style, a rustic woodland adventure theme with kraft paper and twine, or a clean, minimalist look with lots of white space and simple fonts. Your theme is your north star—it helps you choose colors, fonts, and little extras that all work together.
Defining Your Story and Timeline
Next up, let’s decide on the scope of your story. Are you starting from the moment you saw that positive pregnancy test, including ultrasound photos and baby shower memories? Or will the book focus exclusively on that magical first year, beginning with the birth story? There is no wrong answer—choose the timeline that feels most meaningful and manageable for you.
Setting a realistic schedule is probably the most important thing you can do for yourself, especially as a busy parent. Trying to do it all at once is a surefire recipe for burnout. The trick is to find a small, consistent rhythm that fits into your life.
Weekly Check-ins: Carve out just 20 minutes every Sunday evening to upload photos from the week and jot down a few quick notes in your phone.
Monthly Creative Sessions: Set aside one afternoon a month to print your favorite photos and work on just a few pages.
Milestone-Based Work: Focus on creating pages only after big moments, like the six-month mark, their first holiday, or a family vacation.
This approach breaks a huge project down into small, satisfying wins. It ensures you’re always making progress without feeling overwhelmed. This planning phase is crucial; it lays the foundation for a project you’ll actually finish and cherish for years to come. For a deeper dive into making your book truly your own, you can learn more about how to create a personalized book with Once Upon a Memory and explore unique customization ideas.
Remember, the goal is to create a heartfelt keepsake, not a perfect, flawlessly curated gallery. Your love and personal touch are what will make this book a true family heirloom.
By mapping out your theme, scope, and schedule, you transform an intimidating task into an exciting, step-by-step creative journey. This simple blueprint will be your trusted guide as you start to bring your baby's story to life.
Gathering Your Creative Toolkit
This is where the fun really starts. The tools and materials you pick are what will turn your vision into a real, tangible keepsake. You're at a crossroads here: do you go for the tactile charm of a hands-on scrapbook, or the streamlined convenience of a sleek, professionally printed book?
Each path is its own creative adventure. Honestly, the right choice is simply the one that gets you excited to begin.
A physical, DIY baby book lets you get incredibly personal. You can add textured ribbons, handwritten notes in your own script, and even tiny keepsakes like a hospital bracelet. On the flip side, a digital book offers a clean, polished look with drag-and-drop templates and endless font choices—a lifesaver for busy parents who still want something beautiful.
This little flowchart can help you figure out which path feels more like you.
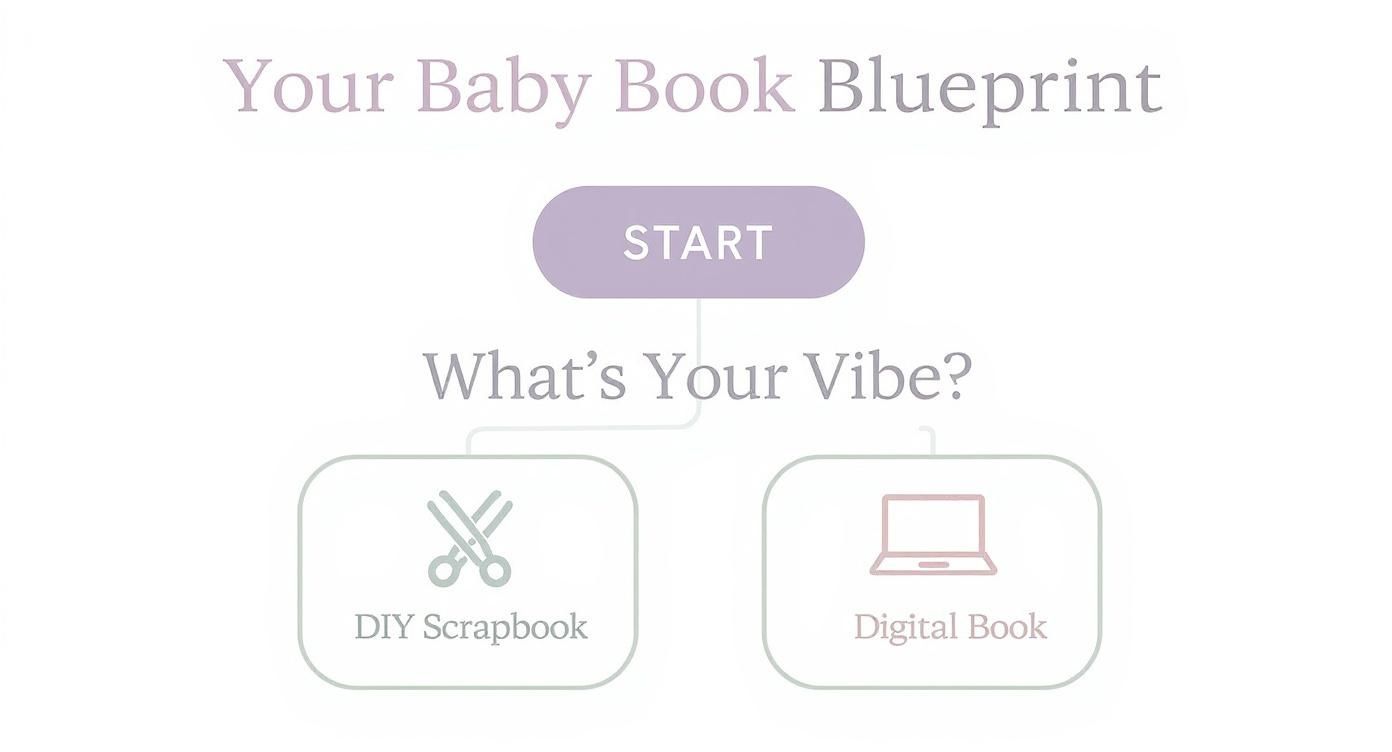
Ultimately, it comes down to whether you crave that hands-on creativity or prefer digital efficiency. There's no wrong answer.
Stocking Your DIY Arsenal
If you're drawn to the classic scrapbook approach, gathering the right supplies is the first step to creating a true heirloom. Good news: you don’t need to buy out the entire craft store. Focusing on quality over quantity is what will protect your memories for decades to come.
Here are the absolute non-negotiables:
Acid-Free Paper and Album: This is the most critical item on your list. Standard paper has acid that will yellow and break down over time, literally destroying your precious photos. Always, always choose products labeled "acid-free" or "archival quality."
Photo-Safe Adhesives: Your everyday tape and glue are photo-killers, too. Look for adhesives made specifically for scrapbooking, like photo corners, double-sided tape runners, or acid-free glue sticks.
Archival-Quality Pens: To keep your heartfelt notes from fading into oblivion, you'll want pens with pigment-based, fade-resistant ink. Brands like Sakura Pigma Micron are what archivists and serious scrapbookers swear by for their permanence.
A Personal Tip: Start with just these three core items. It’s so easy to get swept up in the sticker and embellishment aisle, but a simple, well-made book with high-quality basics will always feel more timeless than a cluttered one. You can always add more flair later.
Navigating the Digital Design World
If the thought of glue sticks and paper trimmers gives you a headache, a digital baby book might be your perfect match. There are a bunch of user-friendly platforms out there that let you make a baby book that looks professionally designed, no graphic design degree required.
Deciding between a DIY scrapbook and a digital book can be tough. Here’s a quick breakdown to help you compare the two paths side-by-side.
Physical vs Digital Baby Book Creation
Feature | Physical Baby Book (DIY) | Digital Baby Book (Print Service) |
|---|---|---|
Customization | Highly tactile; can include physical items like ribbons, tickets, and bracelets. | High design flexibility with layouts, fonts, and digital stickers. |
Time Commitment | Can be more time-intensive, involving cutting, pasting, and arranging by hand. | Faster creation process with templates and drag-and-drop editors. |
Durability | Requires archival-quality materials to prevent fading and deterioration. | Professionally printed and bound for a durable, long-lasting finish. |
Ease of Duplication | Difficult to replicate; each book is a one-of-a-kind original. | Easy to print multiple copies for grandparents and other family members. |
Editing | Mistakes can be difficult to correct once items are glued down. | Pages can be edited and rearranged endlessly until you're happy. |
Look & Feel | Charming, personal, and handmade. | Sleek, modern, and polished. |
Both options lead to a beautiful result; it's just a matter of choosing the process that fits your life and creative style best.
Here are a few popular platforms to get you started on the digital route:
Artifact Uprising: Known for its minimalist aesthetic and museum-quality printing. A fantastic choice for a modern, elegant book.
Shutterfly: Offers a massive library of themes, layouts, and embellishments, giving you tons of creative freedom.
Mixbook: Praised for its powerful and intuitive online editor. It lets you fully customize templates, so you can get every little detail just right.
Choosing a digital service means you can tweak and rearrange pages until they’re absolutely perfect. If you need more ideas on how to weave your photos into a story, check out our guide to creating a personalized book with pictures for some storytelling inspiration.
Curating Memories and Telling Your Story
Okay, you’ve gathered your supplies. Now for the heart of the project. This is where you go beyond just labeling photos and start weaving the real, beautiful story of your baby's first year. It’s about capturing who they really are—the goofy, open-mouthed smiles, the intense frowns of concentration, and those peaceful, sleepy cuddles that just melt you.
The goal here is to pair powerful images with your own words, creating a keepsake that feels rich with emotion. You'll be amazed how a few thoughtful sentences can turn a simple photo into a memory you can almost feel.
Choosing Photos with Personality
Scrolling through thousands of photos on your phone can feel completely overwhelming. My advice? Stop looking for perfection. Instead, look for photos that capture genuine emotion and tell a tiny story all on their own.
Try to include a variety of shots that show different sides of their new life:
The Unposed Moments: That picture of them covered in spaghetti, a huge mid-yawn stretch, or their total fascination with the cat's tail? Those often say more than any posed portrait ever could.
Detail Shots: Don’t forget the close-ups. Their tiny hands gripping your finger, their ten little toes all lined up, or that one wild curl of hair that refuses to be tamed—these are the details you’ll treasure.
Photos with Loved Ones: Capture the pure joy on a grandparent's face while holding them for the first time, or a sibling’s gentle curiosity. These images root your baby's story within your family's story.
A quick edit on your phone can take a good photo and make it great. Seriously, the built-in photo apps have simple tools to brighten a dark image, make the colors pop, or crop out that distracting laundry basket in the background. You don’t need fancy software to make a huge difference.
Don’t just show what happened; write down how it felt. The goal is to capture your baby's unique personality and your family's experience during that incredible first year.
Writing from the Heart
Now, let's add the words that bring it all to life. I know staring at a blank space next to a photo can be intimidating. The key is to use gentle prompts to jog your memory and get the stories flowing. This isn’t about writing a novel for each page; a few heartfelt sentences are perfect.
These prompts can help you remember the little things you never want to forget:
The Birth Story: Write down a few details you remember from that day. What was the weather like? What song was on the radio in the car? How did you feel the very first time you held them?
Coming Home: Describe the feeling of walking through your front door with this tiny new person. What was their first night at home like? (Even if it was chaotic!)
Funny Anecdotes: What's a funny little quirk they have? Did they make a hilarious face when trying lemons for the first time? Jot down the story that still makes you smile.
Favorites and Firsts: Document their first real giggle, their favorite soft toy, the lullaby that always calmed them down, or their very first toothy grin.
The act of storytelling is how we connect with our kids from the very beginning. It's a massive industry for a reason—the children's picture book market was valued at USD 12.34 billion in 2025 and is projected to hit USD 21.68 billion by 2034. When you make a baby book, you are creating your child's very first, and most personal, storybook. You can learn more about the growth of the children's book market if you're curious.
By focusing on these personal stories and candid photos, your baby book becomes so much more than a collection of milestones. It becomes a vivid, emotional time capsule—a true reflection of your love and their incredible first journey.
Assembling and Preserving Your Heirloom
You’ve gathered the photos, written down the stories, and picked out every single detail. Now comes the best part—bringing it all together into a beautiful book you can actually hold. This is where your vision truly comes to life, whether you’re working with paper and glue or putting the final touches on a digital design.
If you’re creating a physical, scrapbook-style book, the goal is balance. A cluttered page can feel overwhelming, so let your favorite photos breathe. Often, one or two hero shots paired with a little story has far more impact than a page crowded with too much stuff.
When you start attaching photos and mementos, always reach for photo-safe adhesives. I swear by double-sided tape runners; they give you a clean, secure bond without any messy glue residue. For heavier keepsakes, like that tiny hospital bracelet, a few archival-quality glue dots will give it the extra hold it needs.
Finalizing Your Digital Creation
If you chose to make a baby book with a digital service, your most important work happens right before you hit that “print” button. This is your last chance to catch any little errors that might bug you later.
Read every single word. It’s amazing how a simple typo can hide in plain sight. My trick? Read the text aloud, or even better, have your partner or a friend give it a fresh look.
Next up is the paper. Most services offer a few options, and your choice can completely change the feel of your book.
Matte Finish: This is my top recommendation for a baby book. It’s non-reflective, so you can see the photos from any angle, and it does an incredible job of hiding fingerprints from curious little hands. The finish is soft, modern, and almost velvety to the touch.
Semi-Gloss or Luster Finish: This is a great middle-ground option. It gives your photos a subtle sheen that makes the colors pop without being distractingly shiny. It’s a versatile choice that works beautifully for almost any project.
Glossy Finish: While glossy paper makes photos look incredibly vibrant, it’s also highly reflective and a total fingerprint magnet. It’s gorgeous, but maybe not the most practical choice for a book that will be touched and loved for years.
The final review is your most important edit. Double-check that your photos are high-resolution so they don’t print blurry. Confirm all the dates and names are spelled correctly. Make sure your page layouts look exactly how you want them. A few extra minutes here can save you a world of disappointment later.
Protecting Your Finished Keepsake
Once your book is finally in your hands, proper storage is what will make it last for generations. Light and humidity are the biggest enemies of printed memories.
Find a cool, dry spot for it, away from direct sunlight. A bookshelf in your living room is a much better home than a box in a damp basement or a sweltering attic.
For the ultimate protection, you can get an archival-quality storage box. It will shield your book from light, dust, and moisture, keeping it safe and sound.
This final stage is what turns your project into a true family heirloom. It’s no surprise that the global market for baby books was valued at around USD 2.1 billion in 2023 and is still growing—people cherish these tangible memories. You can discover more about the baby book market trends on dataintelo.com. By taking these last few steps, you’re ensuring your beautiful creation can be shared and enjoyed for many, many years to come.
A Few Common Questions About Making a Baby Book
Starting a baby book is one of those projects that’s full of love… and a whole lot of questions. It can feel a little intimidating at first, but I promise, it’s simpler than it looks. We’ve pulled together the most common worries we hear from new parents to help you get started with confidence.
Remember, this isn’t about creating a perfect, flawless masterpiece. The most beautiful baby book is the one you actually finish, filled with real, messy, wonderful memories.
What Should I Actually Put in a Baby Book?
The best baby books are a blend of big milestones and the small, personal moments that really tell your family’s story. Think of it less like a checklist and more like a narrative. While the classic "firsts" are the foundation, the real magic is in the little details that only you would know.
I always recommend aiming for a mix of these things:
The Key Milestones: You'll want the birth story (date, weight, length), the day you brought them home, monthly updates for that first year, and all those exciting "firsts"—the first real smile, that tiny first tooth, or their first holiday.
The Personal Touches: This is where the book really comes to life. Add handwritten letters from parents or grandparents, jot down funny things they do or say that you never want to forget, and tuck in physical keepsakes like a lock of hair or their hospital bracelet.
The Emotional Context: Don’t just show what happened; write down how it felt. Describe that overwhelming wave of love during the first cuddle or the hilarious chaos of their first taste of mashed bananas. The goal is to capture your baby’s one-of-a-kind personality.
Think of it this way: the milestones are the chapter titles, but the personal stories and feelings are the beautiful narrative that fills the pages.
How Do I Find the Time for This With a Newborn?
This is the big one, isn't it? The secret is to forget about long, dedicated sessions and work in tiny, manageable bursts. Trying to do the whole book in one weekend is a recipe for overwhelm for any new parent. The key is to weave memory-keeping into your life in ways you barely notice.
Seriously, forget about setting aside hours at a time. Instead, use a notes app on your phone to instantly record a funny moment or a milestone as it happens. This takes 30 seconds and ensures the memory is saved before it vanishes in a blur of sleepless nights.
Then, just find 15-20 minutes a week to either move those notes into your book or upload a few photos to a folder you’ve set aside. Choosing a simple format, like a pre-made book with prompts or an easy-to-use digital template, will also save you a ton of time. Remember, done is always, always better than perfect.
What's the Difference Between a Baby Book and a Scrapbook?
It really comes down to structure versus freedom. The main difference is how much guidance you want versus how much creative control you’re craving.
A traditional baby book usually has pre-printed pages with specific prompts for milestones, like "My First Bath" or "My Family Tree." It gives you a clear roadmap, which can be a lifesaver for busy parents who just want a guided, fill-in-the-blank experience.
A scrapbook, on the other hand, is basically a blank album. It’s your canvas. You get complete creative freedom over the layout, themes, and what goes inside. You decide which stories to tell and how to present them. A lot of parents find a happy medium by using a blank scrapbook to create their own custom milestone pages, getting the best of both worlds.
Ready to turn your favorite memories into a story your child will cherish forever? At Once Upon A Memory Books LLC, we use your photos and stories to create beautiful, personalized storybooks where your child is the star. Create your custom book today!


